
Date:
Spring 2021
Skills Used:
CAD, Circuit design, soldering, 3D printing
Design Decisions
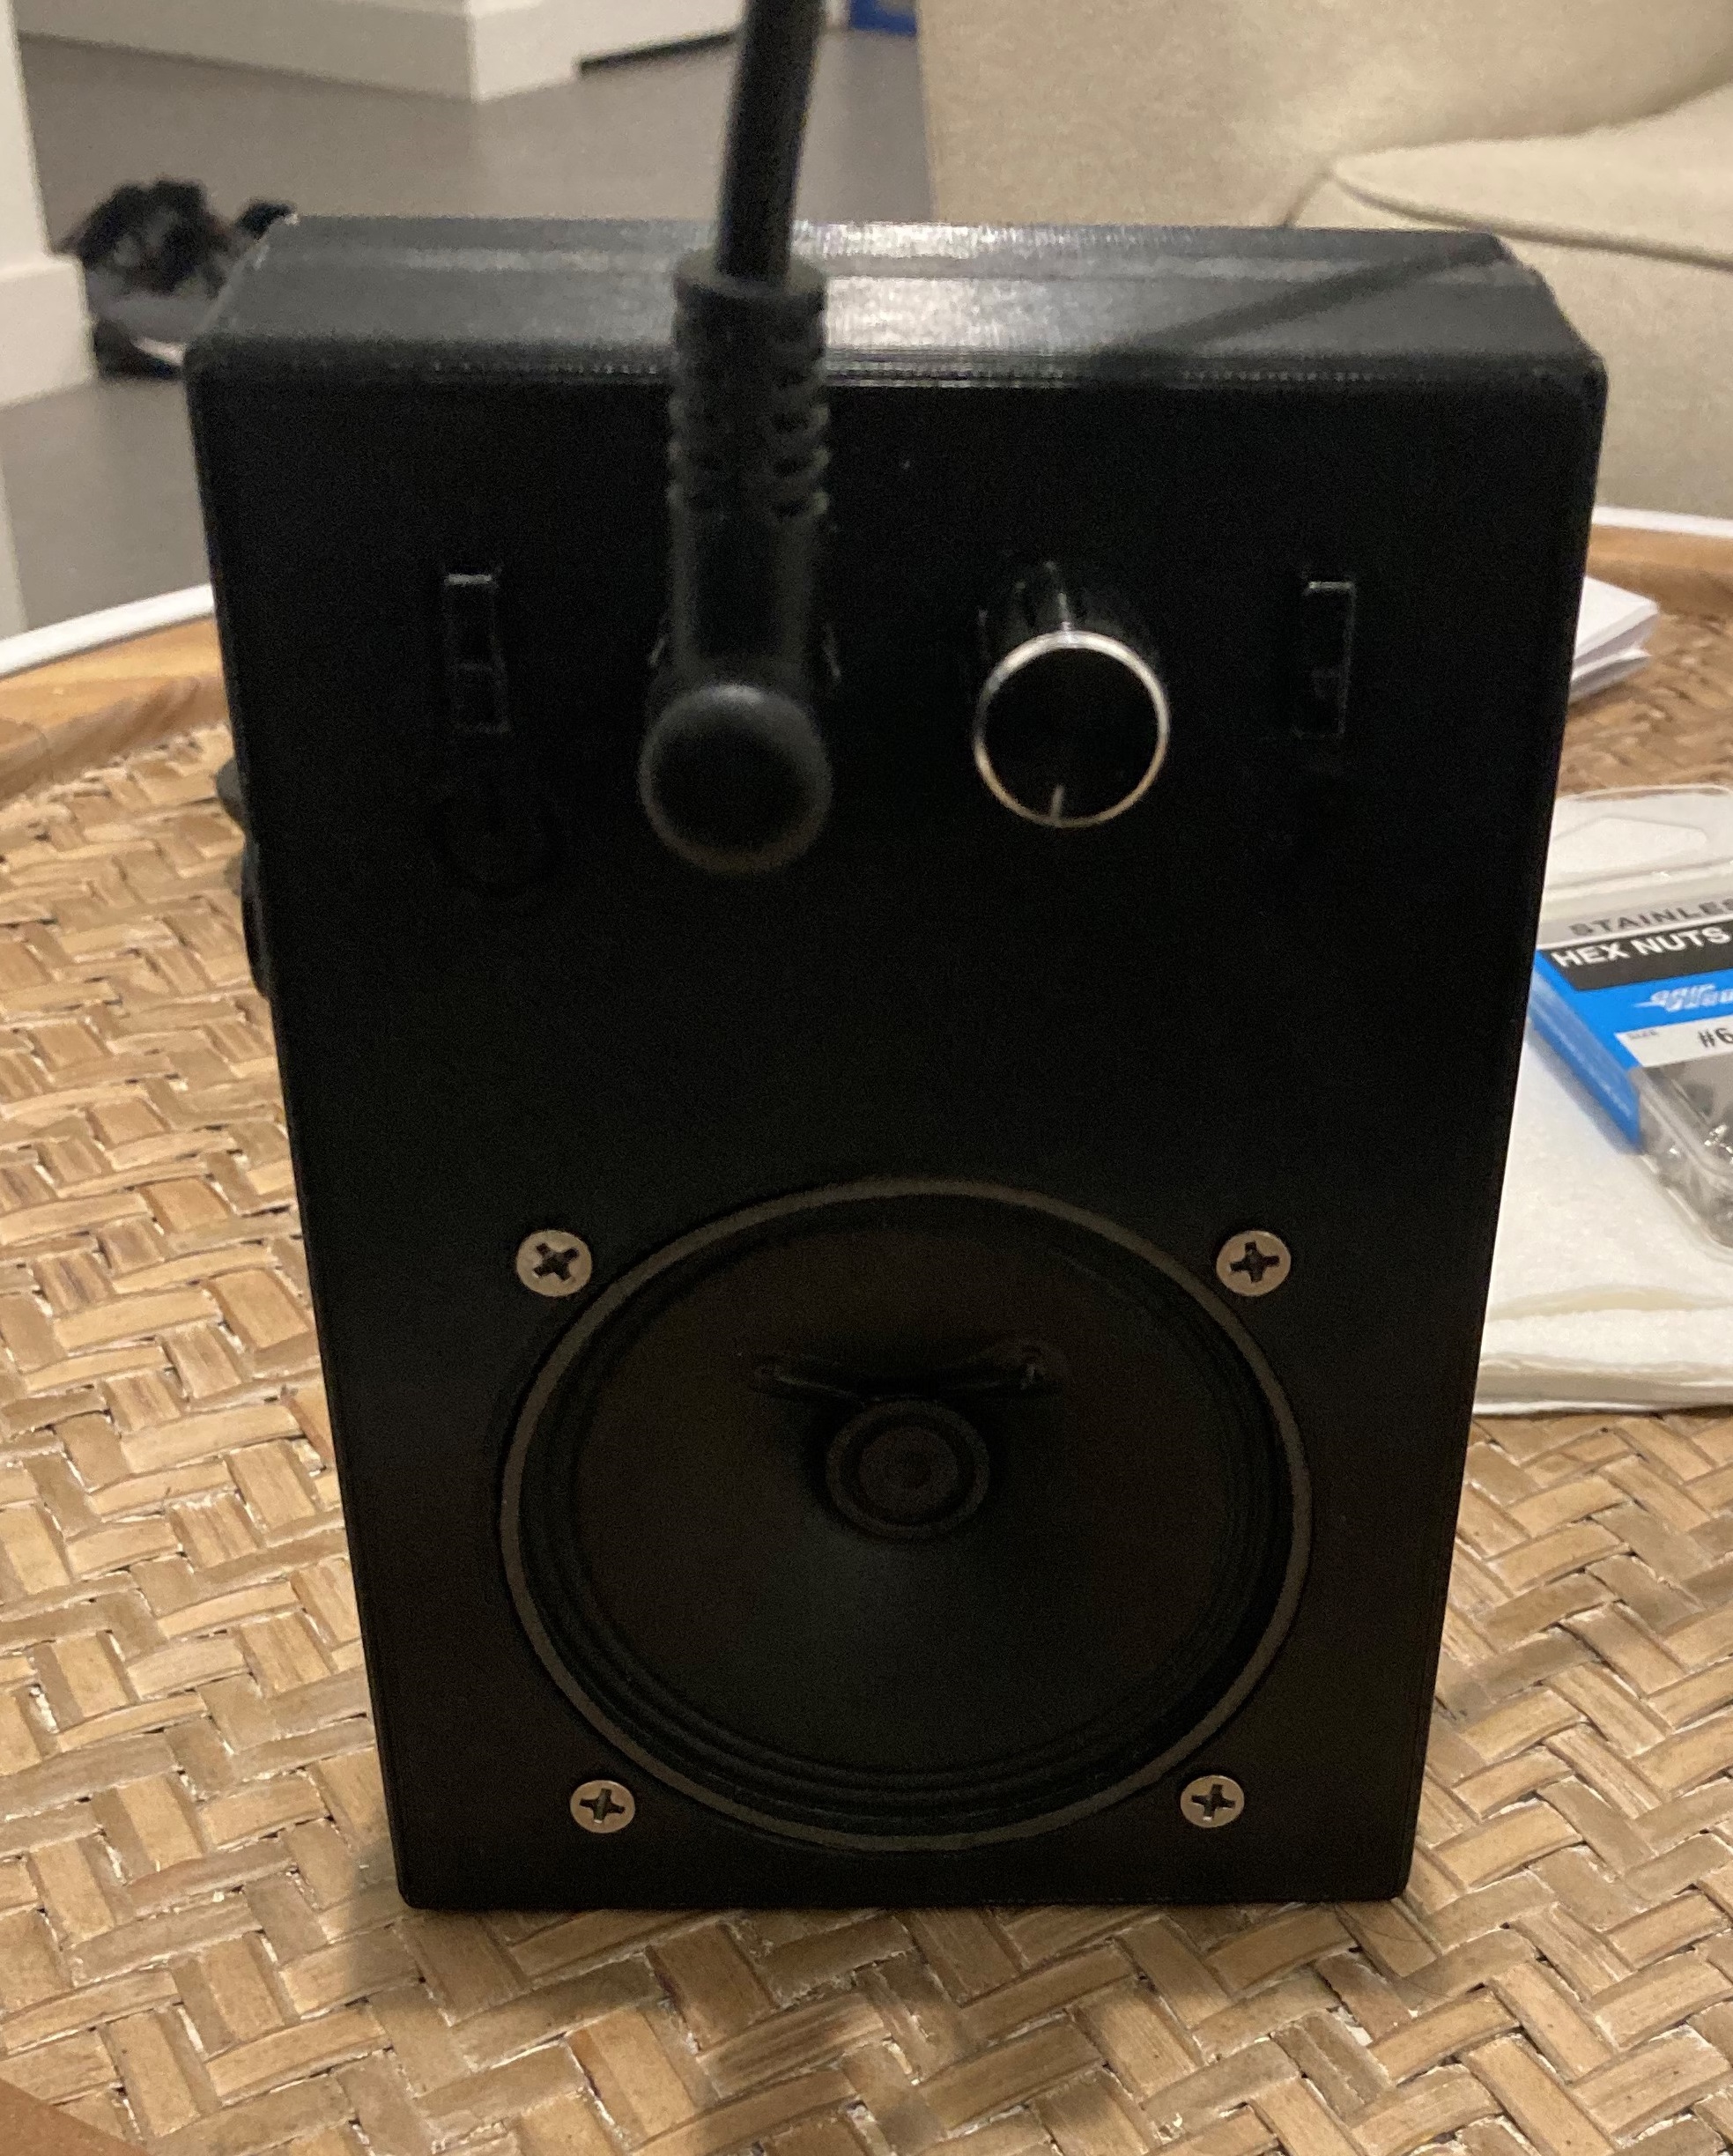
The amp needed to be portable, so it was designed to fit easily in my backpack for travel and needed to be battery operated and fairly lightweight. It also needed to be as loud as possible in a small package, so a 4 Ohm speaker was selected for larger power output (and thereby more volume). To provide the amplification in a safe, cheap, and easy to assemble manner, the LM386 op amp chip was selected as the main IC that the amp was built around. I also decided to use a DC jack so the amp could be powered from a wall plug if one is available.
Build Description
I first tested the circuitry on a breadboard, and it took a few different configurations to get it sounding right. Adding filtering capacitors and resistors as recommended in the op amp’s manual helped make the sound less noisy. I also wanted a “distortion” mode, so I added in a switch to set the amp’s gain to the max (200) when triggered. The clipping of the audio signal then causes distortion with a gain this high.
Once the circuit was working properly, the case for the amp was designed in SolidWorks to hold all the components and then 3D printed. I screwed all the parts in, and the amp was able to work.
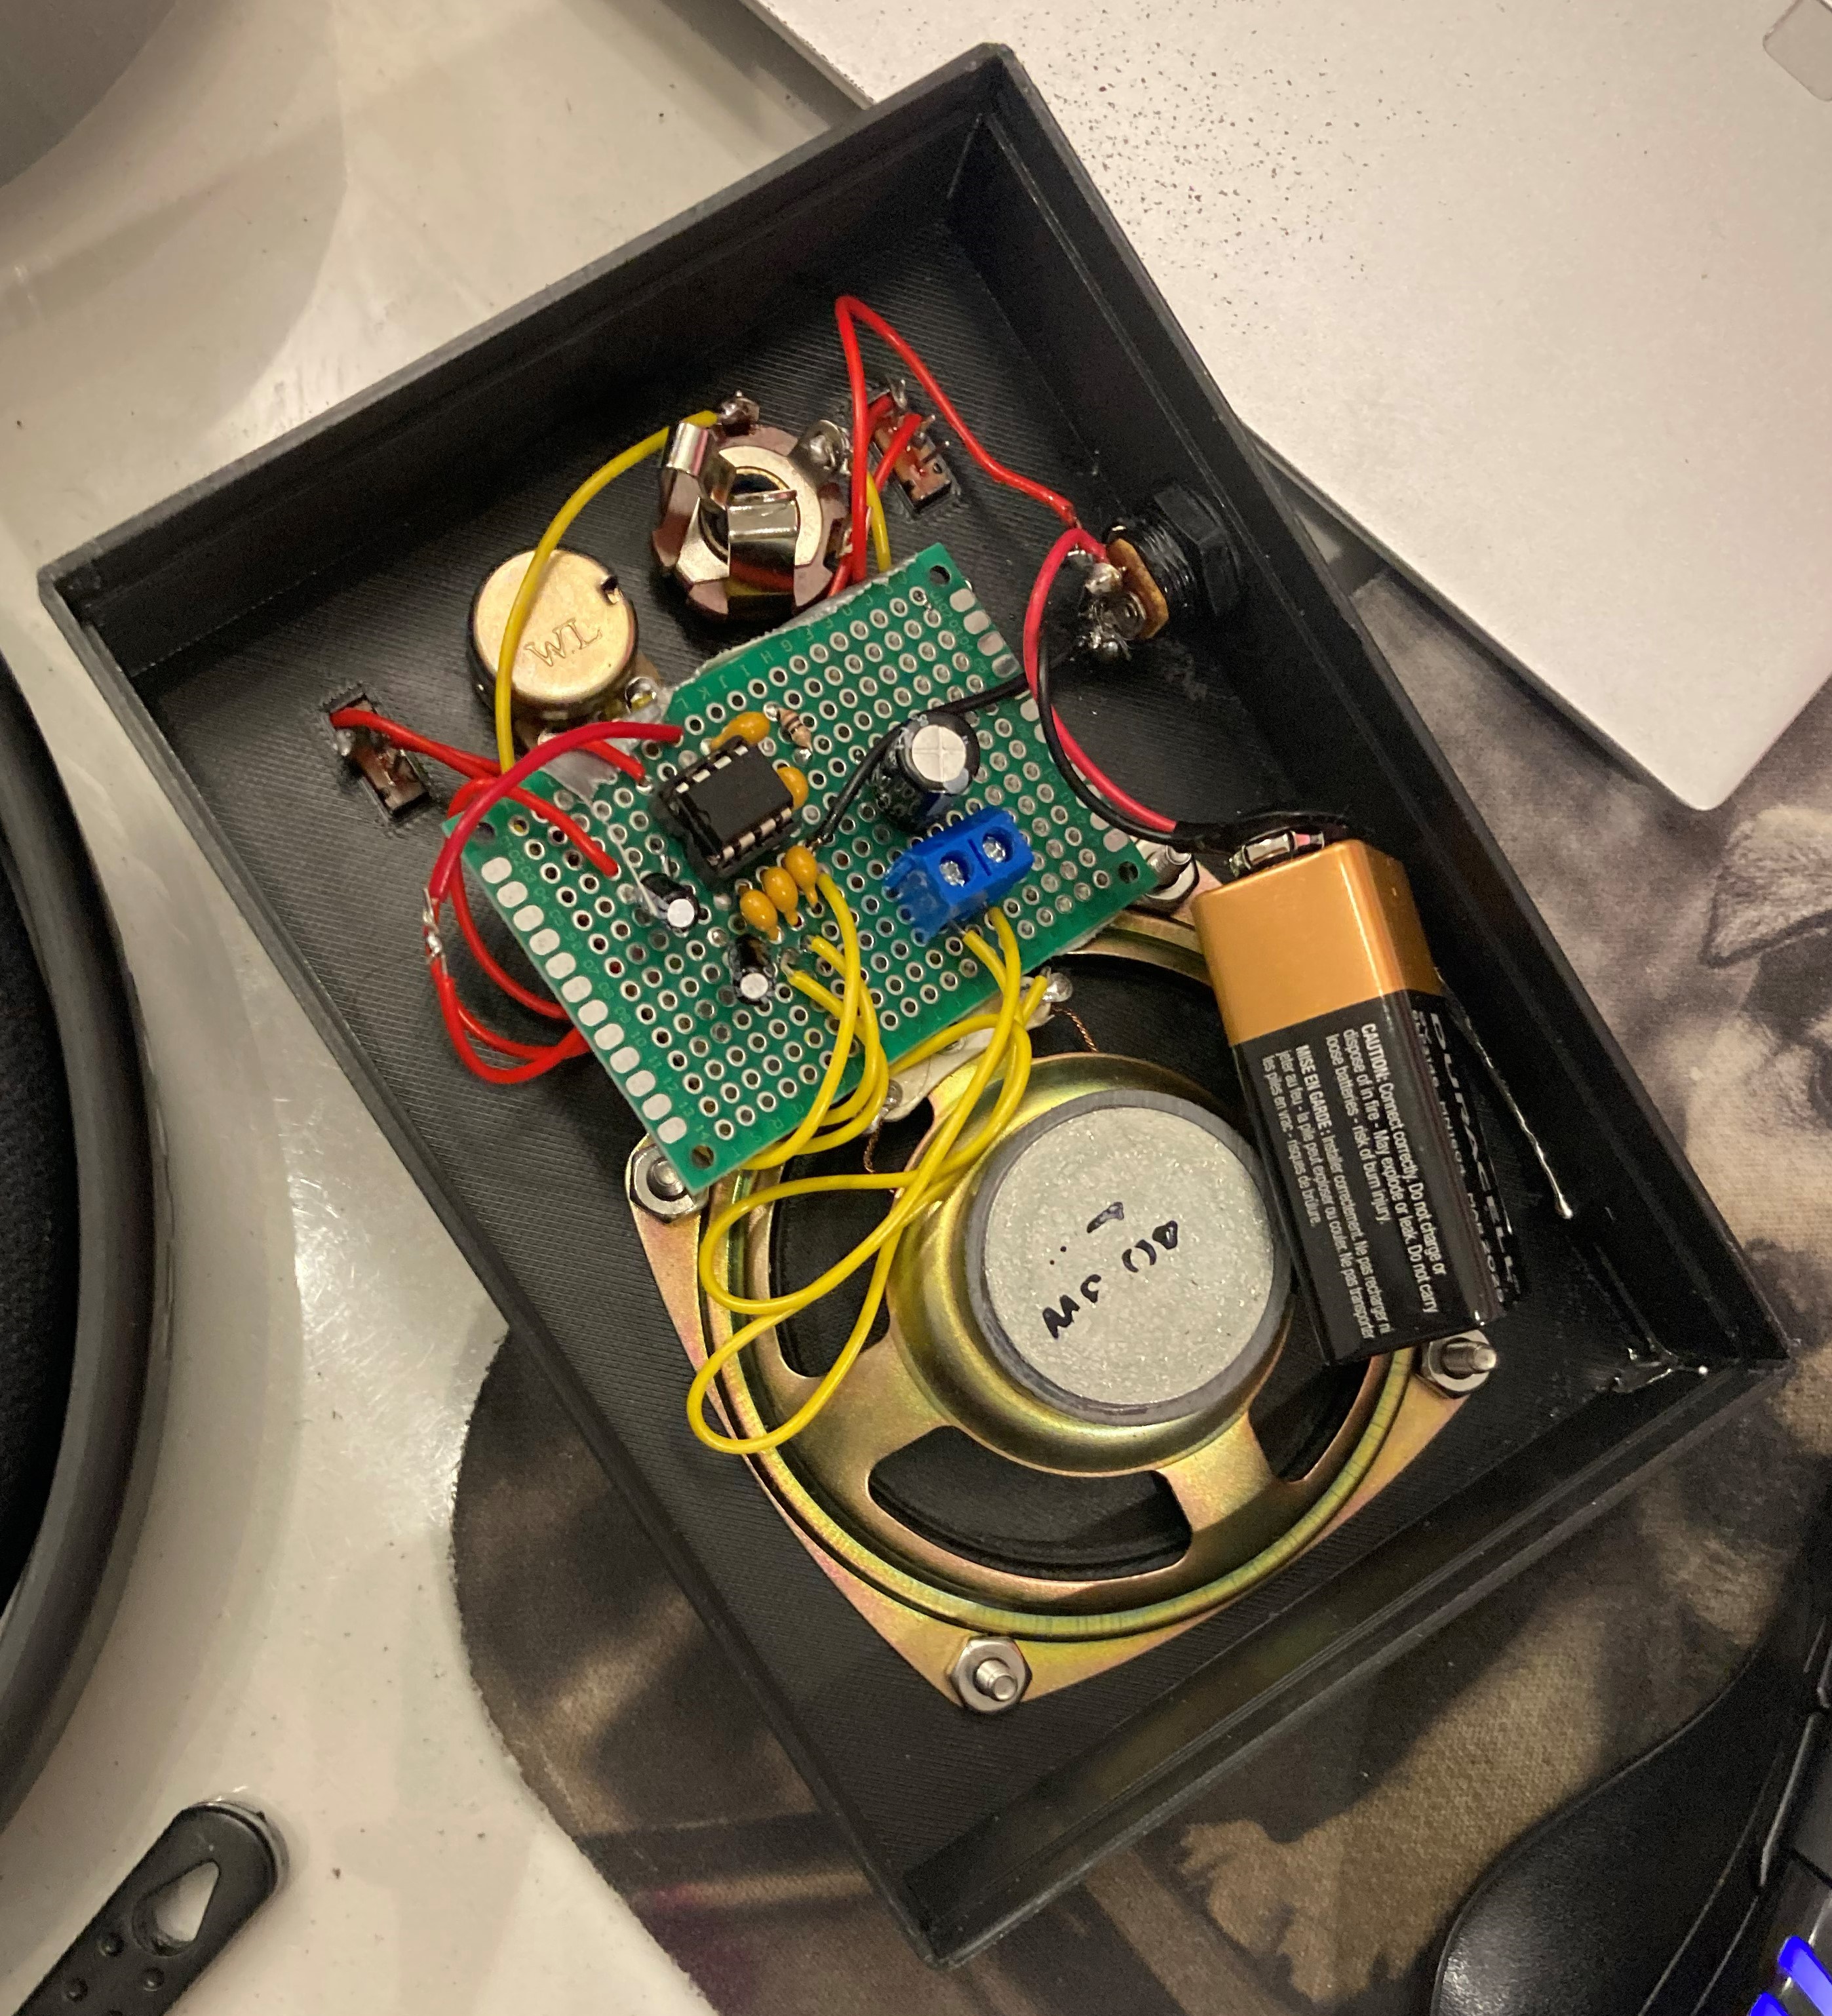
The circuitry on the inside of the amp. The main IC is easily replaceable if it were to get damaged.
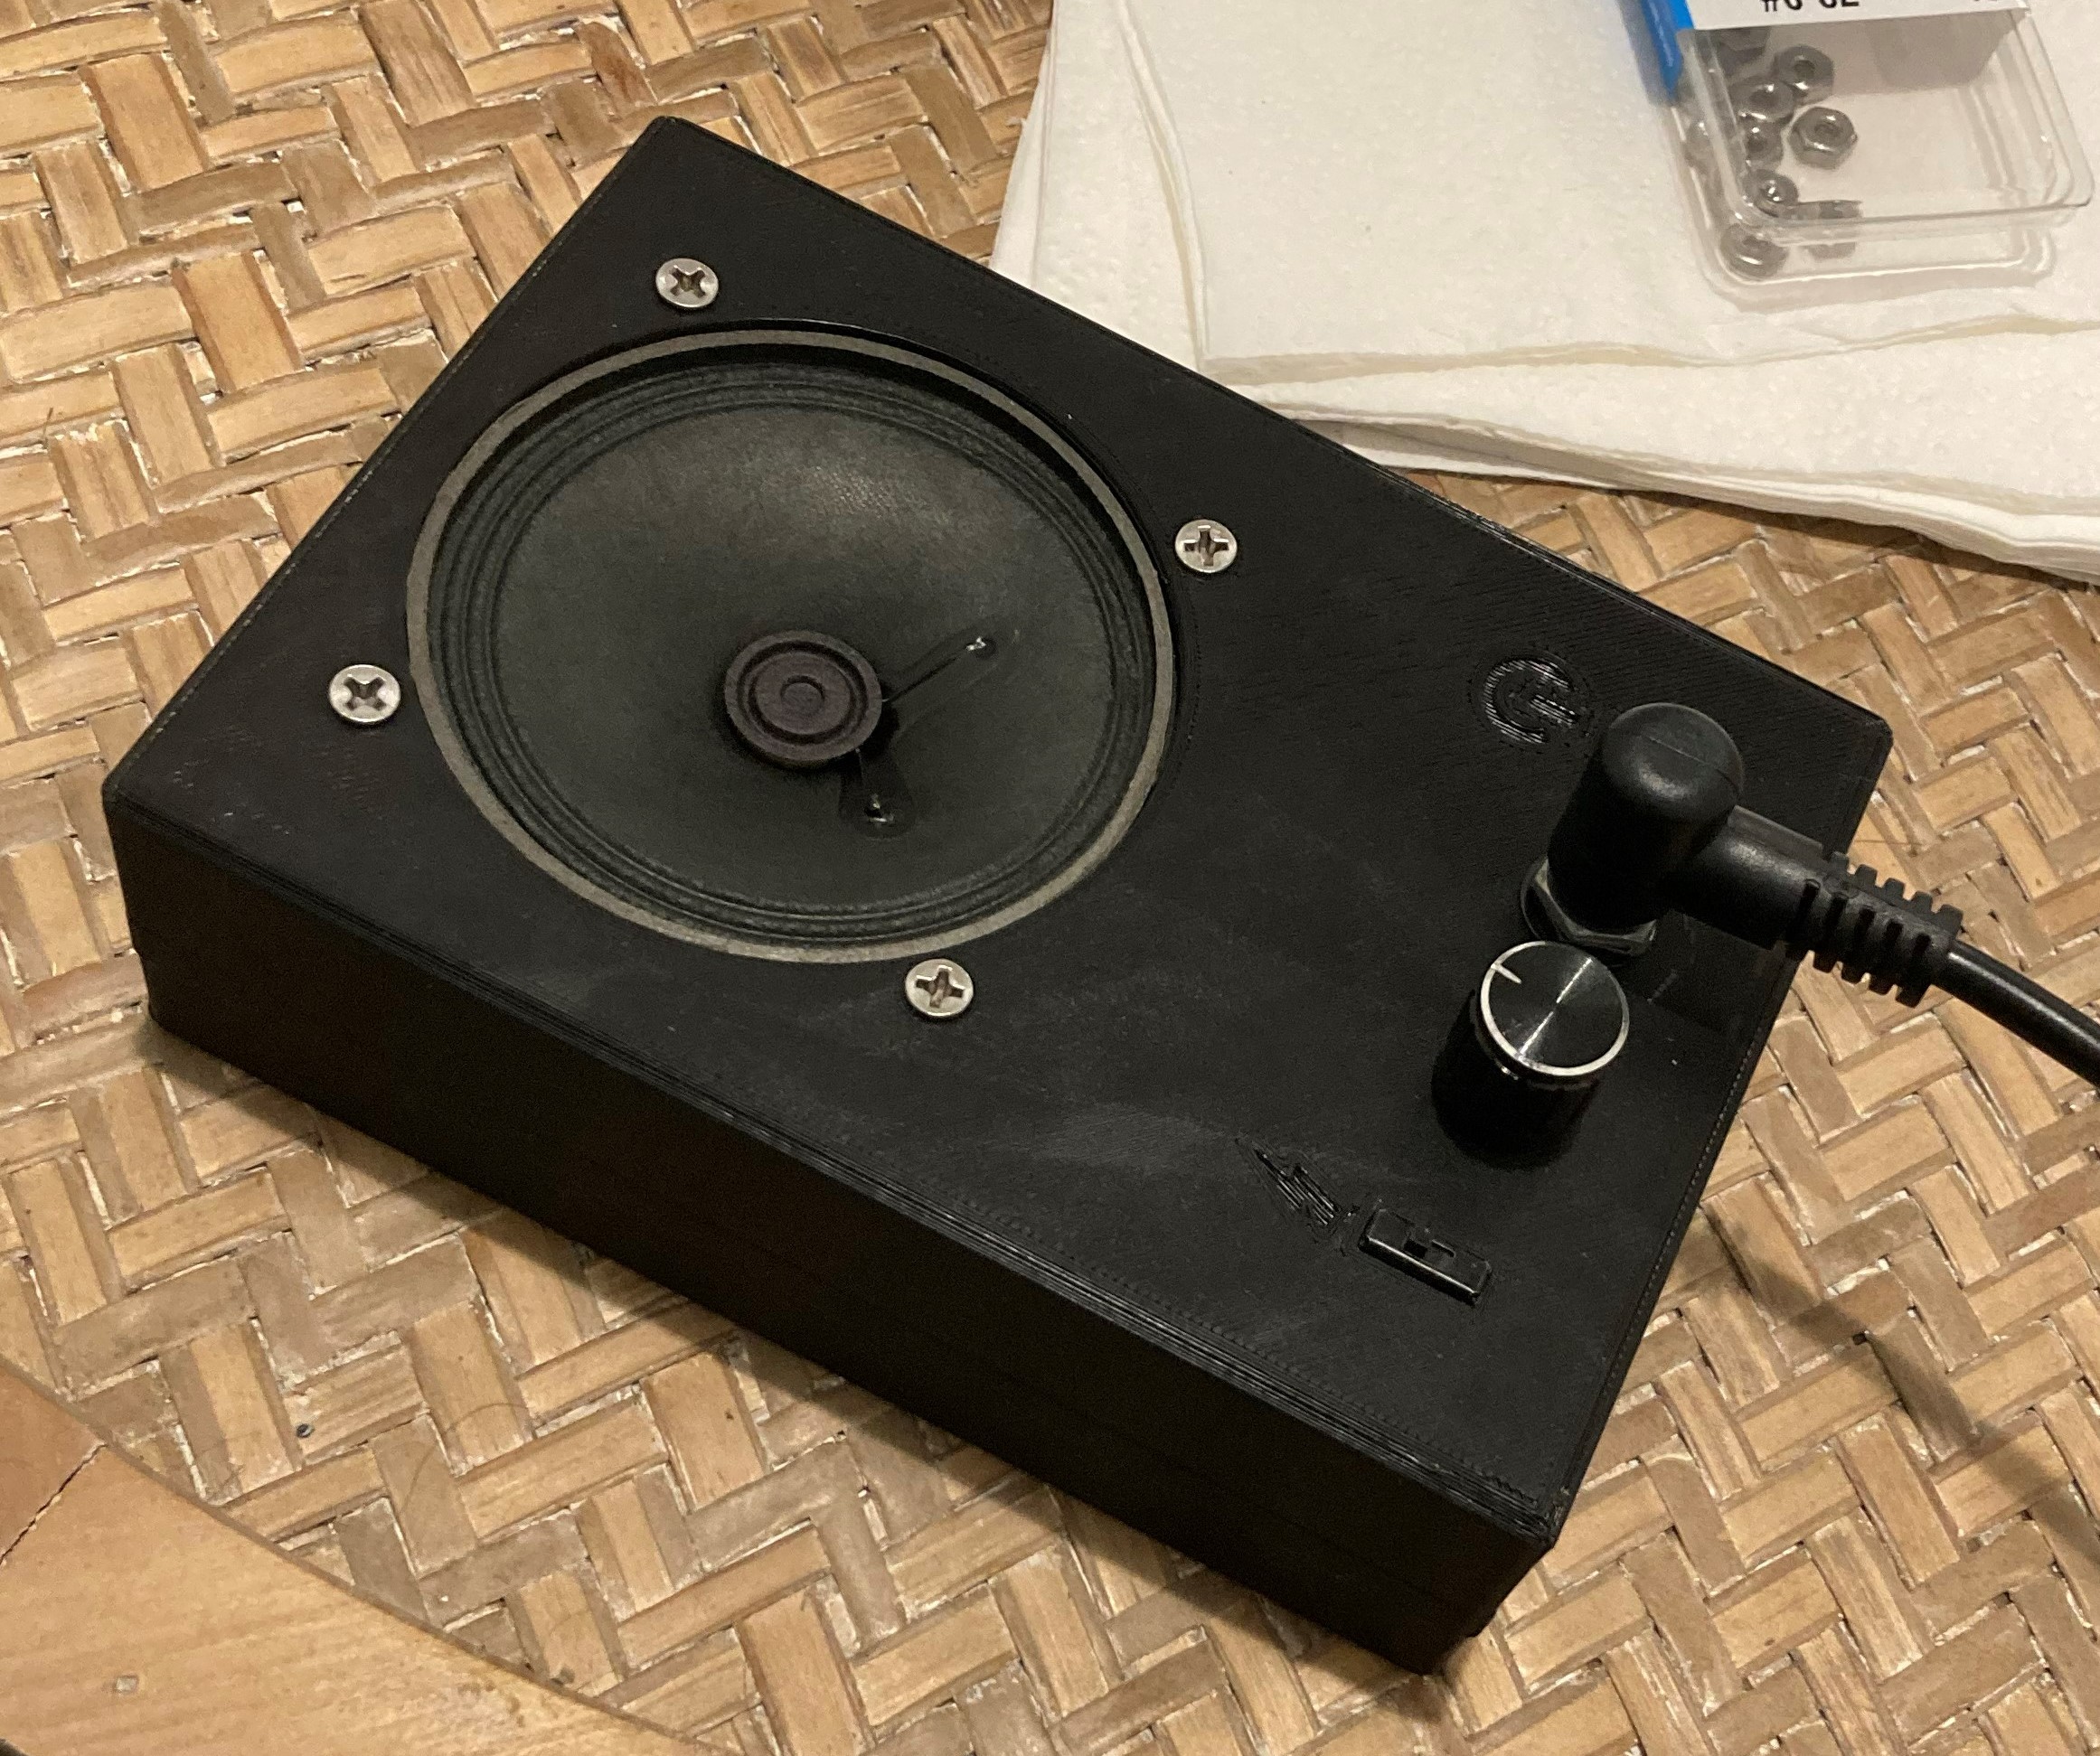
The finished product in all its glory. It’s small and sleek, perfect for jamming on the go.
Here you can listen to the amp. First I played some chords without any amplification, then with the amp set to clean, then with distortion.